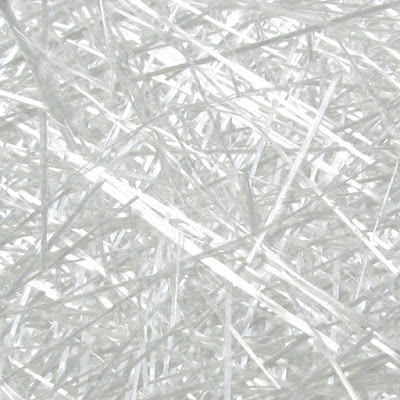
Let's Make Some Fiberglass!
With the external layers of Chopped Strand Fiberglass Mat already added to build thickness, the strong, quadraxial layers of E-Glass are laid next. They have fibers running in four different directions which builds stiffness and rigidity into the hull.
 |
| Strength layers added to Chopped Strand Mat |
Next, layers of Closed Cell Foam Core are added after being shaped. Kerf cutting is required with other types of foam to allow the foam to have a curved shape. Kerf cutting refers to adding multiple cuts with a saw blade that go about 2/3rds of the way through the material inline with the intended curvature to allow the foam to bend. The foam used by Vision Yachts does not require kerf cutting to bend it, so the gaps in the material that result from kerf cutting are not there. These gaps would results in extra vinyl ester resin that would add weight and cost without adding strength. The foam sheets do contain small holes throughout to allow the resin to move from the inside of hull to outside of hull during the infusion process.
 |
| Foam core built up onto bi-axial fiberglass |
After the foam, more quadraxial fiberglass it added to create what will be the inside of the hull. In high-stress areas, such as where the chainplates attach, additional layers of uni-directional glass are added. (Chainplates are the metal fittings used to transfer the load from the guy wires (called shrouds) that make up the rigging holding the mast in place.)
 |
| Inside layer of Fiberglass added |
A sacrificial layer of green matt (peel ply) which aids in the distribution of the vinyl ester resin and the extraction of air is applied as the last layer. This will be removed when the boat is no longer in the mold. Long white strips are added that are basically the resin highways. The black dots that can be seen hold everything in place until the assembly is vacuum-bagged.
 |
| Almost ready for infusion of resin. |
At this point, the entire hull section is covered with a plastic sheet ("bagged"). The edges are sealed to the mold to create an air-tight assembly and a very strong vacuum is applied to extract air and compress all of the layers. The vacuum pulled is over 80kpa below ambient air pressure, which means there is at least 12 lbs of force from the atmosphere on every square inch of the assembly squeezing it all together. Put another way, that is equivalent to placing a car's worth of weight(4000 lbs) on every 18" by 18" section of the hull!
The technicians then inspect the entire assembly, making sure that nothing has moved and patch any small tears or leaks found in the plastic.
 |
| Bagged and ready to be resin infused |
There are three types of resin predominately used in fiberglass construction(
1):
- Polyester Resin - Commonly used in boat-building - Inexpensive and has good adhesion properties. Easy to use.
- Epoxy Resin - Two part (resin and hardener). Very strong and the most flexible of all three type, but expensive and difficult to use. The ratio of resin to hardener must be precise for maximum strength. It is also sensitive to atmospheric conditions when applied.
- Vinyl Ester Resin - A blend between Polyester and Epoxy. It is stronger and more durable than polyester and also exhibits higher resistance to vibration, UV and water. This also means there is a lower change of osmotic blistering, which can cause bubbles to develop below the waterline years after manufacture. It still uses a hardener, but the final cure is less dependent on the mixing ratio.
Vision Yachts uses Vinyl Ester Resin for their boat building. It has the best properties for a boat that will spend all of its life in the water.
Now the hull assemblies are ready to have the resin infused. Technicians start at the center/middle of the hull section and insert tubes into ports in the resin "highways". The other end of the tubes lead into buckets containing prepared vinyl ester resin. The vacuum pulled on the bagged hull draws the resin up the tube and into the fiberglass assembly. It also is pulled through the holes present in the foam core to reach the layers of fiberglass on what will be the outside of the hull.
This same process is used to create the starboard hull and the center section.
 |
| All pieces infused! |
This process allows for a very controllable amount of resin to be infused (35% resin by weight). This maximizes strength and minimizes weight. Creating a low weight hull in a catamaran means that everything built upon it can be lighter and/or smaller (sails, mast, engines, etc).
After several days of exothermic curing, the fiberglass can be removed and then the pieces are fused together! (That's coming soon!!)


